Showing posts with label Rainbow rack of spools. Show all posts

Thursday, 2 August 2012

Tutorial Tips: Button It Tray

When Penny and I design patterns for Sew-Ichigo we always want to think of some practical uses for them.   We always put our creations in the Sew-Ichigo Flickr group and we hope you will do the same!  For Penny's The Button It pattern I wanted to use them to make a button card to feature in a generously sized tray to store mini projects. 
 I used Ayumi's tray pattern scaled up so I though I would share my measurements in case you wanted to do the same.  Firstly I printed the Button It pattern a little  smaller so the buttons would be 2 1/2" finished size rather than 3"- set your photocopier at 83%  for this.
Once I had made 5 buttons using the new Liberty Lifestyle prints and a blank square  3 x 3" of Kona snow, I stamped some fabric with Made in England  and Buttons  and then sashed them together.   There are tips on using stamps here.   I did a little extra piecing at the top to get fit the selvedge in but the measurements are the same as below.
I used a single strand of embroidery floss to turn the selvedge circles into tiny buttons and 6 strands of floss to make the buttons look as if they were stitched on to the card.
My final touch at this stage was to use the 6 strand floss to make a single stitch as if a button was missing from the card.  The block was sashed all around with 6" wide strips of  Essex yarn dyed linen in flax and I trimmed it down so the button card was at an angle, this measured 16" x 20".  
I then followed Ayumi's tutorial!  I used fusible fleece, Vilene H640 which is the only interfacing I can truly trust not to go wrong!   It adds structure and softness and is great for pillows and bags too. I quilted lightly, just following the sashing seam lines on the button cards and a diamond criss cross on the linen.   The gusset measured 8 1/2" but you could change this to have lower sides and a wider base.
I top stitched the sides to make it stand up.  And then I popped it in the post for Ayumi!  It was her birthday present.   We can all never have enough storage and Ayumi's tray pattern is so easy to adapt and make a series of trays Russian doll style!
Penny will be sharing another of Ayumi's tutorials; the fabric basket to show you further uses for the patterns and you can buy for 'Button It' and 'Rainbow Rack of Spools' here and here.  I am seeing some great ideas coming up in the Flickr group so I fancy sharing a gallery of those soon too!

Monday, 2 July 2012

Y-seam tips: Version 2

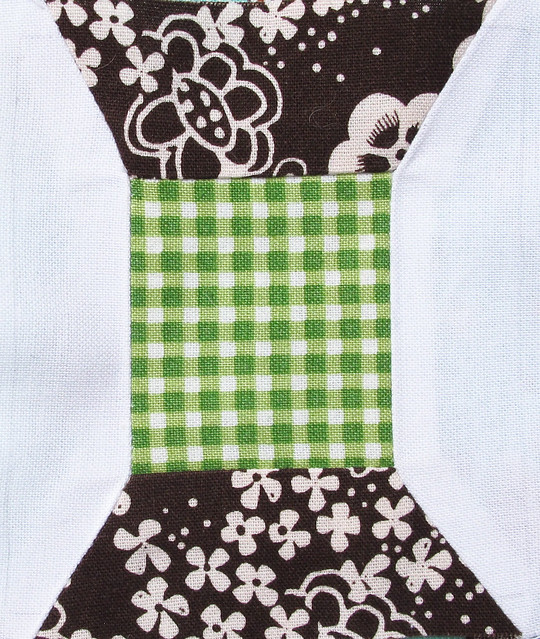
Today I'm going to walk you through how to sew a Y-seam using one of Kerry's spool blocks (in which the pattern will be available in a few short days!)  In this version, I will not be using freezer paper, and part of the block will be semi-foundation pieced.


Kerry has given some really great info in Version 1 on how to spot Y-seams in a finished block and how to do Y-seams using freezer paper, so make sure and check her version out as well!


What you will need:

Your fabrics, the pattern (which has the side Y-seam portions cut off the spool), pencil, rotary cutter, mat, and a small clear ruler.

First, foundation piece the spool.  When you sew this part, start and end sewing exactly where the line on the pattern starts and ends.


Once you have the spool pieced on both ends, use your ruler and a pencil and draw a line 1/4" out from the edges of the spool.


then use your rotary cutter to cut the spool out along the penciled line.


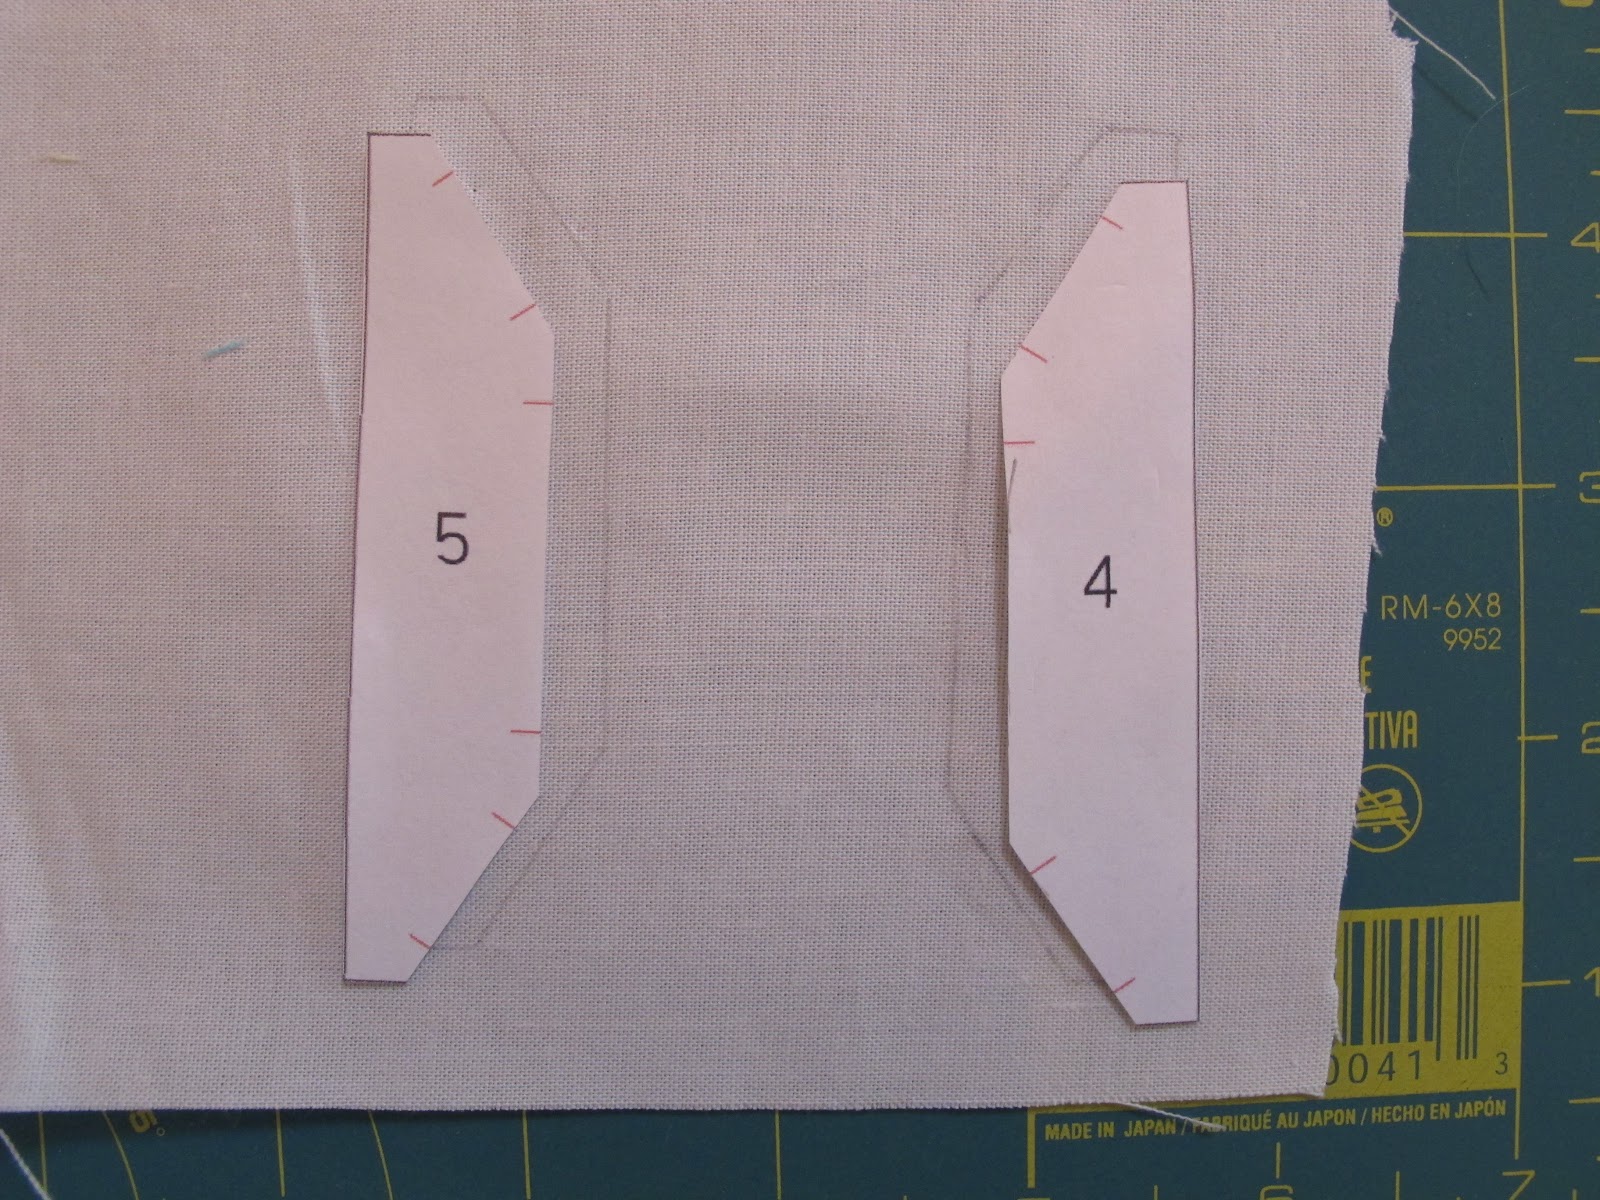
Trace your side template pieces onto fabric

and then use your ruler and rotary cutter to cut them out 1/4" past the penciled lines.


Now lay the side template onto the spool, lining up the side and top and bottom edges with the spool.


Pin in place if you wish (I didn't) and flip the piece over and sew just to the side of the paper pattern from the top stitch line to the bottom stitch line.  Repeat on the other side.

Now flip the piece over and pin the two edges together on one corner, indicated by the black arrow.   The red arrows indicate which edges you are pinning together.  When pinned, you can see that the piece is pulled up on that corner.


Starting sewing at the outside edge corner until you reach the stitching corner indicated by the blue arrows.   Stop sewing exactly where the the side stitches stop.  Repeat for the other three corners.


Press your side seams open on the back, and you are done!

Sunday, 1 July 2012

Y seams Tips: Version 1

I love a Y seam!  Spool blocks are full of them, and in preparation for one of our new pattern sets, Rainbow Rack of Spools, Penny and I thought we would give you our Y seam tips and I am up first!  Y seams occur when three seams intersect and form a Y shape.  You cannot piece Y seams entirely with foundation paper piecing so my preference is for freezer paper piecing.  This traditional 'Windblown Star' block has a couple of Y seams in it.  Can you see them in the first pic?
They are easier to spot when the block is rotated 90 degrees.  I have highlighted one in yellow.
They are a useful way to reduce the number of separate pieces and additional seams in a block.  You can see one in the roof/chimney/sky area of this little house- pattern is available in Fat Quarterly Community Retreat issue available here with my detailed 'how to sew Y seams feature'.
There are four Y seams on each of my spool blocks, I have highlighted one here.
They are not hard but they are fiddly and they do call for precise sewing.  I use a small stitch, a fine piecing thread like Aurifil 50wt and you will need to secure at the beginning and end of each seam with back stitches.  I use my template freezer paper pattern pieced as guides for my seams.  You start by piecing the centre of the spool to the spool tops, but look carefully at the seams below.
 Did you notice how they stop 1/4" away from from the outside edge on each side?
This is repeated all round the spool until all the outer pieces- the spool top and bottom, plus the side background pieces- are attached making an inner square of seams.  
Now sew your diagonal seams, starting at the outer edge and sewing inwards- I find this brings me the best results, but if you wish to try the other way, I won't stop you.
I f you sew a stitch over at a vital intersection, reposition your needle to where you want to be and secure with back stitches, unpick the unwanted stitch.  That's how I sew my Y seams.  The tick marks are a great help on these.  The more you sew them, the better you get- practice as always makes perfect!

Saturday, 30 June 2012

Works in Progress

We are busy here at Sew-Ichigo.  A tea cozy featuring the Tea Kettle from Kitchen classics has gone to Liberty to live in their cafe.   You can read more about this here.
The features prints from the new Liberty Lifestyle quilting cotton collection.  I am using more of these prints whilst I play around with  Penny's new button set for Sew-Ichigo.  This little cutie is called 'Plain Jane' and she is a lovely easy make!  
And whilst I sit and sew listening to the tennis at Wimbledon, I have just had a break for strawberries!  As you probably have read here before, "ichigo" is Japanese for strawberry so I couldn't resist a picture.

I did have a little shock moment today when I picked up Modern Quilting issue 3 (UK based magazine).  An interview I did a while ago which features Sew-Ichigo is inside!
Our new pattern sets: 'Rainbow Rack of Spools' and 'Button It' go on sale next week here and at our craftsy store.  You can find all the Kitchen Classics patterns in the same places including individual patterns at Craftsy.  Penny has had a hard time recently with the forrest fires in Colorado and other difficulties but she is keeping busy, working and we are in constant touch.  She send me the funniest emails sometimes- I have to try not to laugh to hard out loud when I check my phone at work!

Counter

you might like...