Showing posts with label tip. Show all posts

Monday, 2 July 2012

Y-seam tips: Version 2

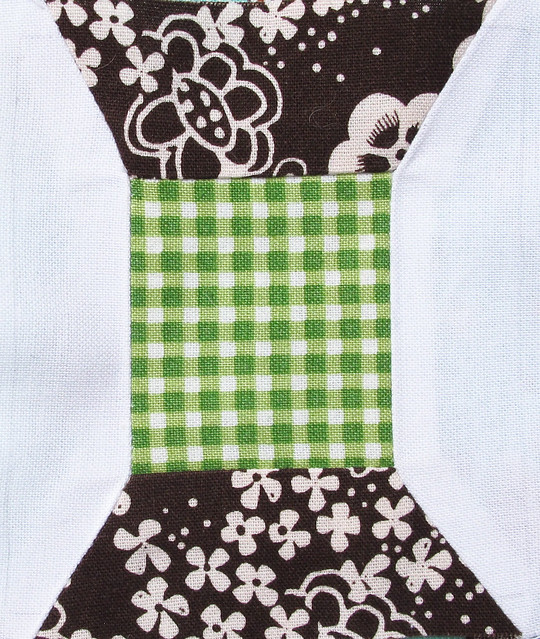
Today I'm going to walk you through how to sew a Y-seam using one of Kerry's spool blocks (in which the pattern will be available in a few short days!)  In this version, I will not be using freezer paper, and part of the block will be semi-foundation pieced.


Kerry has given some really great info in Version 1 on how to spot Y-seams in a finished block and how to do Y-seams using freezer paper, so make sure and check her version out as well!


What you will need:

Your fabrics, the pattern (which has the side Y-seam portions cut off the spool), pencil, rotary cutter, mat, and a small clear ruler.

First, foundation piece the spool.  When you sew this part, start and end sewing exactly where the line on the pattern starts and ends.


Once you have the spool pieced on both ends, use your ruler and a pencil and draw a line 1/4" out from the edges of the spool.


then use your rotary cutter to cut the spool out along the penciled line.


Trace your side template pieces onto fabric
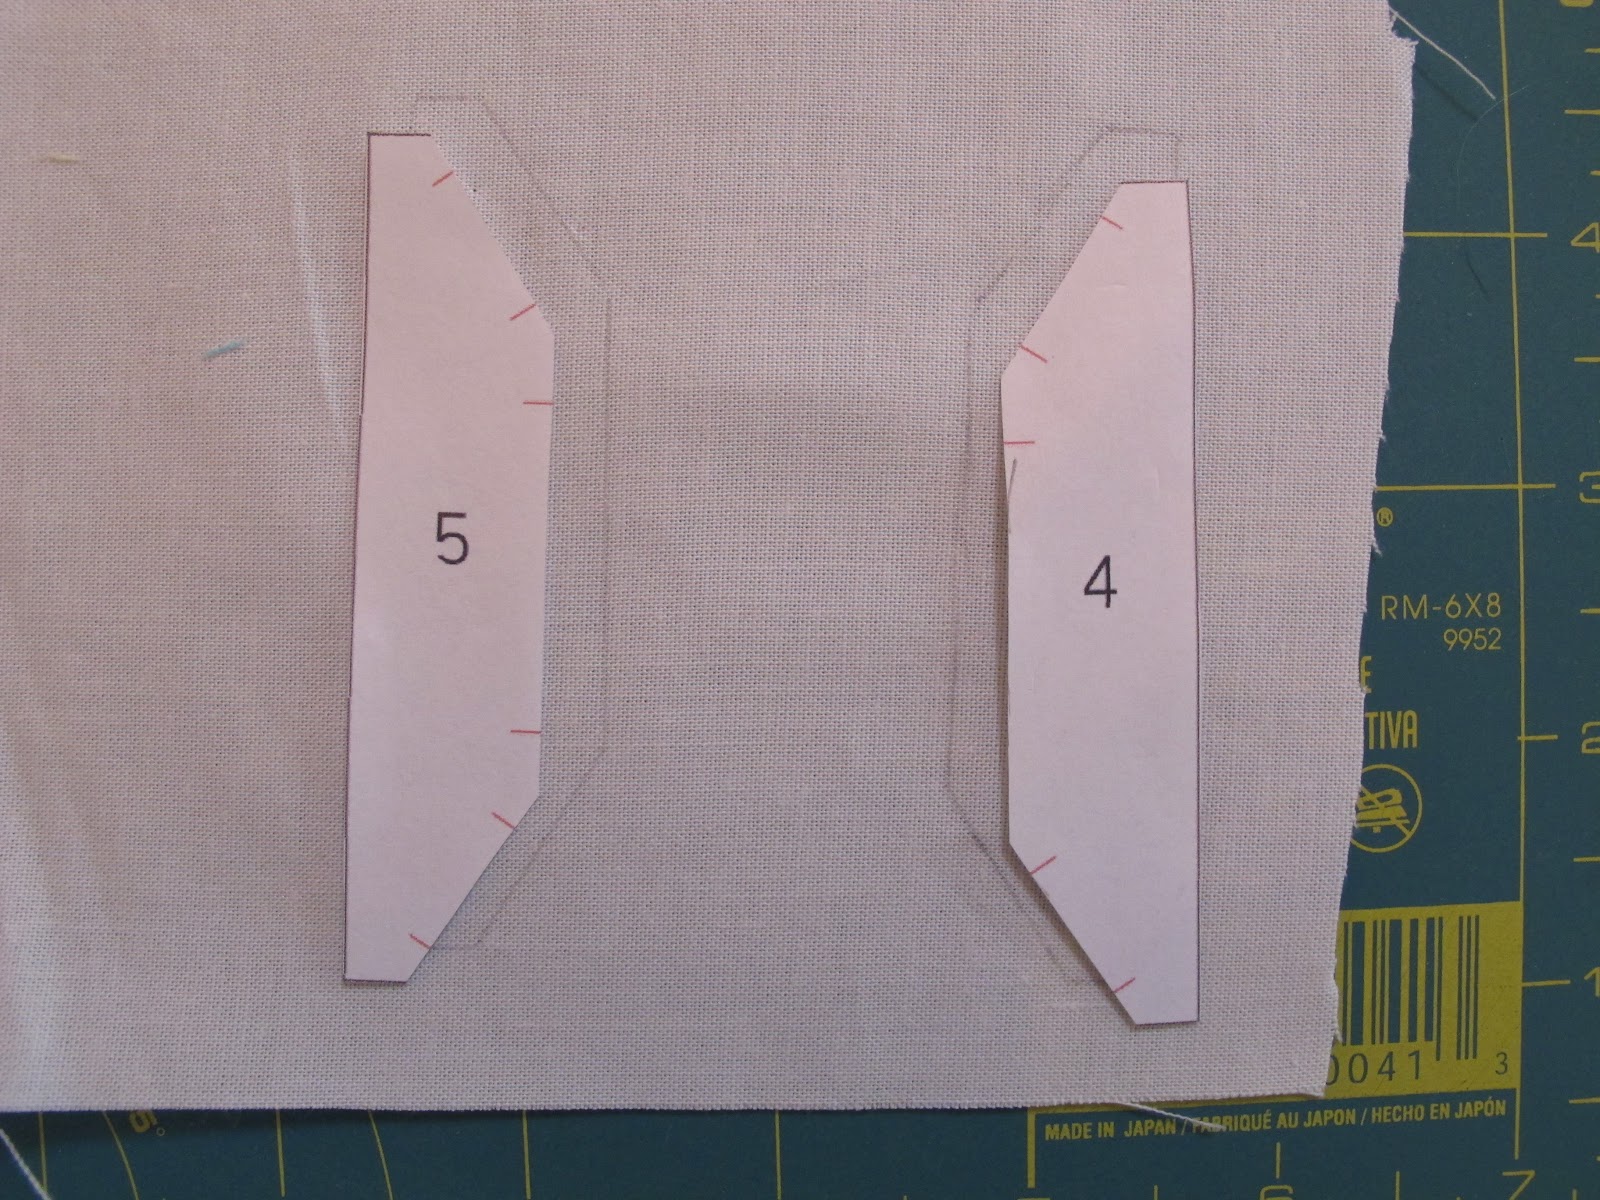
and then use your ruler and rotary cutter to cut them out 1/4" past the penciled lines.


Now lay the side template onto the spool, lining up the side and top and bottom edges with the spool.


Pin in place if you wish (I didn't) and flip the piece over and sew just to the side of the paper pattern from the top stitch line to the bottom stitch line.  Repeat on the other side.

Now flip the piece over and pin the two edges together on one corner, indicated by the black arrow.   The red arrows indicate which edges you are pinning together.  When pinned, you can see that the piece is pulled up on that corner.


Starting sewing at the outside edge corner until you reach the stitching corner indicated by the blue arrows.   Stop sewing exactly where the the side stitches stop.  Repeat for the other three corners.


Press your side seams open on the back, and you are done!
Saturday, 7 April 2012

Quickie Tip: Matching Tick Marks

One of the things that really helps me when I am paper piecing is matching the tick marks.  I use these on foundation piecing to join the sections together and in freezer paper template piecing on every piece.  I don't think I could join diagonal lines accurately without them in freezer piecing!  On the Sew-Ichigo patterns you will find these red tick lines on the lines where sections join.  You can see a cropped image of two pattern pieces below and their corresponding red ticks.
This is how I join foundation paper sections together.  I place the seams together and push the pin straight through the end of the tick mark so it goes straight through the front...
and the point comes out in the matching place on the flip side.
I then pin at right angles to this to hold the seam.  If it is a short seam I leave the vertical pins and just hold it tight all the way to the sewing machine foot.
This is the same pinning from a different angle.
You may prefer to sew those section seams without the paper- it does add bulk.  You just trim the paper back to the edge of the pattern piece, the tick line is still there, a pin as before.
With freezer paper piecing, the technique is just the same; push through the tick line so that is comes out the other side...
On the corresponding tick mark.
I recently read a post at The Sewing Directory by Lynne of Lily's Quilts where she describes exactly the same process for quilt blocks, she uses the points in the block instead of ticks .  It all leads to beautiful blocks, and that is what we are all aiming for!  
I have added a print gadget to the bottom of all posts so you can choose a range of options to print  out our tips and tutorials, handy!  If you want the same gadget, you can find it here.

Counter

you might like...